Painting Tiles: Renovate The Room Walls Economically
Do you feel your wall tiles look plain and dull, but you don't have the budget to reinstall new tiles? Tile painting is a great way to remodel your room with minimum effort and a lot of freedom to show your creativity.
Reinstalling new tiles when they are structurally durable is an unnecessary expense and produces waste. Painting tiles adds durability by improving scratch resistance. Paint your plain tiled walls and add depth and personality to your space.
Let us learn about what to keep in mind when you paint tiles.
Material and Tools You Need
Start by procuring a kit of the listed material to ensure your safety and carry out the project without any interruption.
- Tile cleaner - To remove stains or any residue
- Washcloths and mops - To clean and dry the surface off the dust
- Sandpaper - To ensure paint’s adhesion to the tile
- Tile primer- To level the tile and provide superior adhesion to prevent peeling
- Tile Paint - Get enough quantity of the paint of your choice
- Paintbrush - Essential to apply the paint
- Painter's tape - To securely mask off areas that need not be painted
- Tile sealant - If any damage was done to the tiles while working on the project, it is advisable to have tile sealant to fix any chipping
- Goggles, knee pads, shoes, mask and gloves - protective gear for your safety and comfort
Before Tile Paint
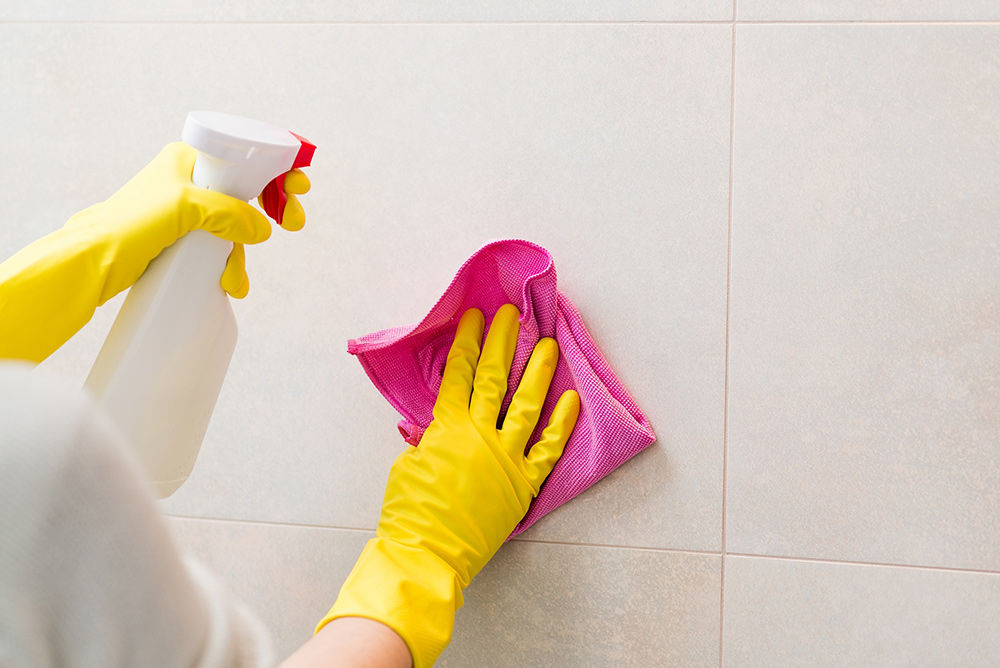
Before picking up a brush for painting tiles, an indispensable step is to prepare the tiles. The tile's surface can contain dirt, dust, or grease, which can severely affect the adhesion of the paint and spoil the whole project. Cleaning is essential for the kitchen tile paint process since they are most likely to collect oil and grease.
Use tile cleaner and water to wipe down all the old stains and grime in the wall tiles. Then use a washcloth and let the tiles dry. Once they are dry, it is time to sand them to boost adhesion. Priming is the next vital step to create an even surface and fill out all the pores.
Tile primers are strongly recommended for moisture-prone areas like a bathroom or kitchen because simply painting tiles can cause the layer of paint to bubble while drying and become more prone to peeling.
How to Paint Tiles?
Now that your tiles, which are your canvas, are thoroughly prepared, you are ready to unleash your creativity. It's advisable to plan your style in advance but if you're going for a fun look with a splash of colours, go with the flow. Take inspiration from urban or street art and have a great time!
Choosing the right paint for the correct type of tiles is essential for layering and mixing. Latex, acrylic latex and enamel are commonly used ceramic tile paint and are generally used in bathroom and kitchen backsplash. These areas are very prone to paint peels by moisture.
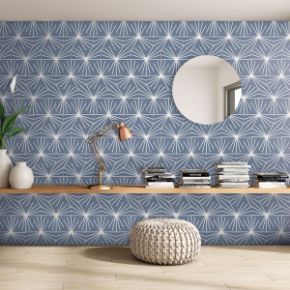
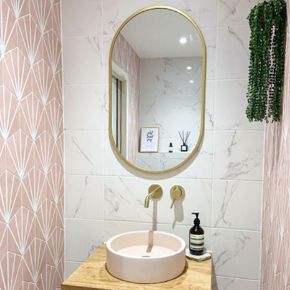
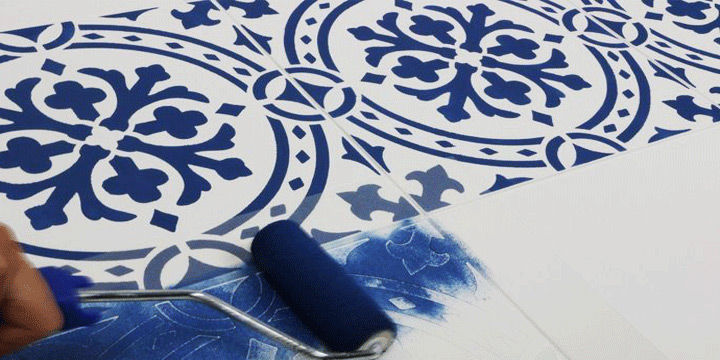
If you are going to create a pattern, secure the region that won’t be painted with painter’s tape. It will allow you to get a smooth and crisp finish. Stencils are the way to go for creating a uniform pattern across the wall of tiles. Spray paints and stencils are very quick and efficient for decorating your walls and creating a professional look at a low cost.
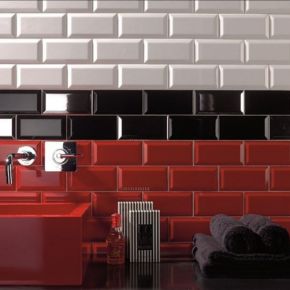
Checkered patterns with contrasting colour schematics are a great visual treat. If you have white wall tiles, you can use tile stickers and mask them, then paint the surrounding backdrop area with black paint to create a black-and-white comic book or doodle type composition, but this might require some extra effort.
Tips for Painting Tiles
There are a few things to keep in mind for specific scenarios, like in the case of bathroom tile paints. It is advisable to wait for the current layer to dry before reapplying another coat as the tiles are more likely to absorb moisture and affect the adhesion.
Use a synthetic brush to avoid marks, and don't ignore the edges. Well painted edges give a chic look and elevate the design better.
Darker tiles might require more coats of paint to achieve satisfactory results and ensure a solid finish.
After the complete painting process, reapply the tile sealant or grout to secure the tiles.
Don't overdo the sanding or cleaning by using chemically strong acid/base cleaners, abrasive sanding papers or very rough brushes; they can damage the tiles and weaken their structure and increase the chances of chipping.
Work on the tiles from top to bottom, to prevent paint from dripping into the finished area. Add coats of varnish for a long-lasting look.
Conclusion
Follow these steps and wear the safety and protection gear to have a pleasant DIY makeover experience. Renovate your room walls within your budget and customize them to suit your taste and reflect your personality.


