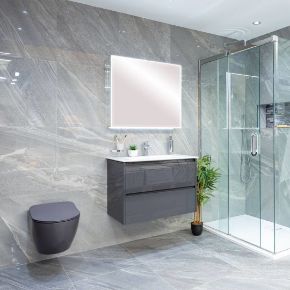


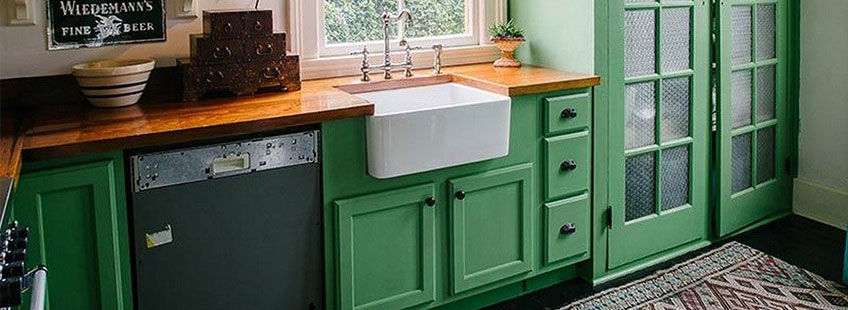
Painting Kitchen Cabinets
Does your kitchen look mundane despite all the modern and hi-tech appliances? Over years, kitchen cabinets are subjected to splashbacks and stains and end up looking frayed and worn out. However, don’t remodel yet. Instead, by painting old kitchen cabinets a dull kitchen area transforms into a lively space!
Here’s how you can spruce up your kitchen in 6 simple steps:
Prep the room: Start by shifting standalone appliances, emptying the cabinets and clearing countertops, and ensure that furniture is moved out of the way.
Remove doors, drawers, and hardware: While painting, the cabinet frames are separately painted without the doors, drawers, handles, and latches. Hence, the doors and drawers need to be removed and numbered on the inside for seamless reinstallation once done. You can store the other hardware in plastic bags with corresponding numbers on them.
Clean the surfaces: To ensure that the primer and paint stick to the cabinets, thoroughly clean the kitchen areas to eliminate grease and grime. Don’t forget to wear your gloves as you scrub the area with the requisite chemicals.
Repair and seal areas: Assess the cabinets, and in case of any indents or gouges, fill them in with wood fillers and a hardener. Further, use painter’s tape on any area that you do not want to apply the paint to.
Sanding: The next step is to smoothen out filled areas, roughages on the cabinet surfaces. Use a sanding block or paper to create a clean base to paint over. Further, ensure to remove flaking paint or deglaze the surface for better adhesion and a smoother finish.
Apply the Primer: A primer is an undercoat that acts as a sealant and ensures that the topcoat does not bleed through. It forms a well-bonded base for painting over high gloss kitchen cabinets.
Now all you have to do is get out your chosen paint and let it do the wonders in your kitchen.
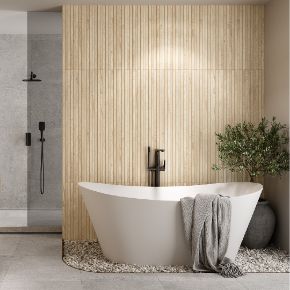
Pro Tip > While grey tiles are generally used on countertops, there is a trend of interspacing white tiles on cabinets to add a dash of colour to your kitchen
Spray Painting Kitchen Cabinets
What comes to your mind when you think about paint - Brushes, and rollers, right? However, experts recommend spray painting as an easier method to get a smooth and expert finish. Commonly used sprayers are the airless paint sprayer, High-Volume / Low-Volume Low-Pressure paint sprayers (HVLP or LVLP), and compressed air sprayers. Your choice will be based on expertise level, coverage, detailing requirements, and, importantly, budget.
How do you undertake professional spray painting of kitchen cabinets? Let’s take you through the process:
Remove the doors and drawers from the cabinet frames
Set up an isolated, well-ventilated workspace (a makeshift or outdoor area) to restrict the flow of the airborne spray.
Fill the spray container by mixing paint, floetrol (a paint conditioner), and water.
Make sure you wear a respirator mask and safety goggles
Get accustomed to the spray gun, understand its settings and spray practice on a cardboard
Keep the nozzle 10-12 inches from the surfaces and use your entire arm (not just the wrist) to spray the area back and forth
Once familiarized, place the doors and draws on an elevated surface and a lazy susan to facilitate rotation and to maintain a consistent angle
While you let them dry, spray paint the frames and alternate to paint the unfinished sides of the doors and drawers
In case of any paint runs, fix with a paintbrush while still wet.
Let them dry overnight and run a second coat the following day. If you notice any dry paint runs, sand out the area and repaint.
Once all parts are dry, pull off the painter's tape and reassemble the kitchen cabinets.
Last but not least - Be patient, as the process will take some time and practice before you get the hang of it.
Before you commence painting your kitchen cabinets, you must assess whether they are wooden or laminate cabinets to determine the materials used.
Painting Wood Kitchen Cabinets
The painting groundwork is dependent on the type of wooden cabinets found in kitchens:
Wood Cabinets: Natural wood cabinets require minimal sanding. However, already painted or wood stained layers have to be sanded or de-glossed. Before painting wooden kitchen cabinets, it is important to know that solid wood heavily absorbs paint, especially water-based latex paint.
Wood Veneer Cabinets: As this is a thin layer of natural hardwood, one should not overly sand it. First, inspect it for any chips, cracks or giveaways that need to be repaired before sanding. Then, scrape the surface just enough to smoothen it for painting.
Medium-density fibreboard (MDF): This wood tends to be more porous since it is engineered wood. Hence, while prepping these cabinets, two things are essential - seal the edges and use an oil-based primer. This prevents the cabinets from swelling up due to moisture absorption.
Painting Laminate Kitchen Cabinets
Laminate is a thin sheet of printed plastic that is designed to mimic wood-like patterns and finishes. It is placed on the underlying plywood to give a smooth finish and is often used in homes due to its stain-resistant properties. However, it is this very attribute that makes laminate challenging to paint over - but not impossible!
As with all kitchen cabinets, you need to ensure that the laminate is intact and devoid of peeling or buckling. Unlike MDF, laminate does not have a porous surface; hence it is harder for the paint to adhere to the surface. Hence, it is essential to choose an adhesion-promoting primer that will fasten to the surface, thereby providing a perfect base for the paint. After the priming process, use fine sandpaper on the laminate but avoid sanding through the surface. With these in mind, your laminated cabinets will have a long-lasting finish.
By now, you would have gauged that painting kitchen cabinets is no small feat. However, it is crucial to follow the preparation step leading towards the final masterpiece. Don't forget to enjoy the process of DIY painting!

