Laying Patio Slabs
Key Takeaways:
- Preparation: Clear and level your site; lay a stable sub-base for drainage and stability.
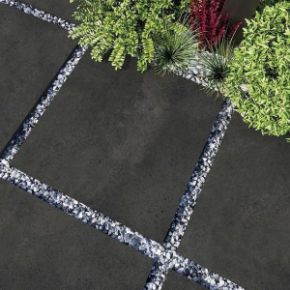
- Materials: Choose quality patio slabs like Earth White Porcelain Slabs or Crossover Grey Paving Slabs.
- Laying Technique: Apply mortar, place slabs evenly, ensure levelness, and use spacers for joint consistency.
- Finishing Touches: Grout properly, clean excess, and seal slabs for longevity.
- Maintenance: Regular cleaning, weed control, and seasonal care are essential.
We at Tiles DIY embrace the spirit of DIY and know that with the right guidance, laying patio slabs can be a satisfying project. Follow our simple, step-by-step guide, and transform your outdoor space into a place of beauty and function.
I. Introduction
The process of laying patio slabs is not only a way to enhance the beauty of your outdoor area, but it also adds value to your home. With a variety of slab options available, from natural stone to porcelain, you have the ability to customize your patio to fit your aesthetic and functional needs.
II. Planning Your Patio
A. Patio Design and Location
Firstly, consider where your patio should go and how it will be used. Do you enjoy the morning sun or prefer the cooler evenings? The right positioning can make all the difference.
B. Measuring Your Space
Measure the length and width of your desired patio area, and mark it out clearly. This will help you calculate the number of slabs needed.
C. Selecting Slabs
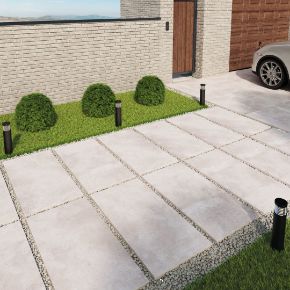
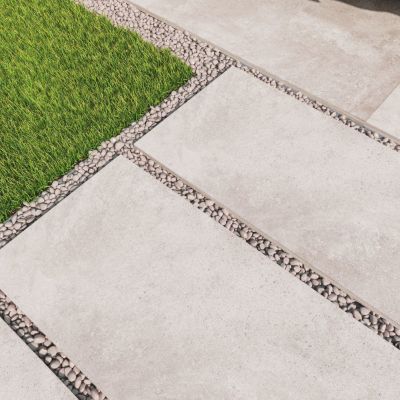
Next, choose slabs that suit your style and the climate of your area. For durability and a modern look, consider our Earth White Porcelain Paving Slabs 60x90 cm. The 600x900 paving slabs have essential cost and time-saving advantages. With fewer joints to deal with, installation becomes more efficient, lowering labor expenses and decreasing disturbances to your outdoor project.
III. Preparing the Ground
A. Clear and Level the Area
Remove any vegetation and debris. Level it as much as possible to avoid future waterlogging. Remember, the sub-base is crucial for a stable patio.
B. The Sub-base Layer
We recommend a layer of crushed stone, about 3–4 inches thick, for adequate drainage.
IV. Laying the Patio Slabs
A. Mortar Mix
Prepare your mortar mix; a standard ratio is one part cement to four parts sand.
B. Laying Out Slabs
Start from a corner, laying slabs in your preferred pattern. Use a rubber mallet to tap them into place.
C. Ensuring Evenness and Spacing
Use a spirit level to verify evenness. Spacers will help keep joints consistent.
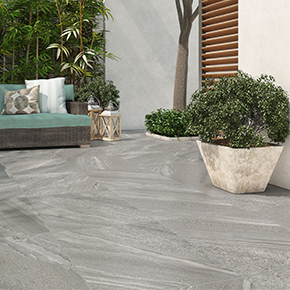
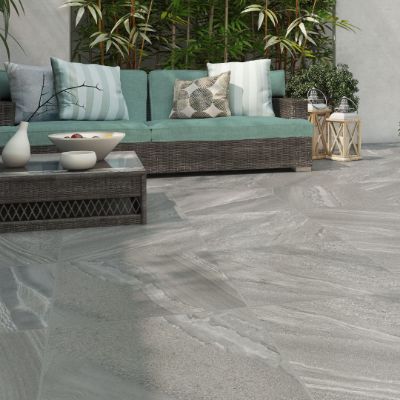
When you come to cutting slabs for the edges, a quality slab like the Crossover Grey 60x60 cm Paving Slabs is easier to adjust and fit.
V. Grouting and Finishing
After letting the slabs settle, fill the joints with grout. Clear any excess grout before it hardens.
VI. Maintenance and Care
Keep your patio clean, and address any weed growth immediately. As the seasons change, check your patio's condition and make necessary adjustments.
VII. Troubleshooting Common Issues
If a slab becomes uneven or loose, it may be necessary to reset it. Address drainage issues promptly to maintain the integrity of your patio.
VIII. Conclusion
Congratulations on completing your patio. With persistence and care, it will provide enjoyment for many years to come.
IX. Additional Resources
For more design inspirations or to purchase top-quality slabs, do visit our collection of paving slabs.
Prepared to embark on your new DIY project? Whether you need advice on which adhesive to use or the best techniques for tile finishing, we've got you covered with expert tips and product suggestions.
For a more look at tile fixing and finishing products, be sure to check out our comprehensive categories:
Learn More about Tile Fixing and Finishing Products
Whether you're laying a small path or a full patio, we hope this guide empowers you to create the outdoor space you've always desired. Enjoy your new patio and the many wonderful moments it will host.


