


How to Tile a Wall?
Are you thinking of taking up a tiling project to revamp your home without professional help? Here is a beginner’s perspective for you.
Let us look at how to tile wall step-by-step:
1) Pre-preparation
Before tiling, all wall substrates must be clean, dry, firm and stable, free of dust, dirt, oil and grease. Substrates should be strong enough to support the weight of the adhesive and tiles being fixed. Further, ensure no damage, mould, or cracks, existing wallpaper, or paint are present before commencing. If overlooked, these can affect the longevity and the finishing of the process.
2) Draw a tile layout
You may think that the tiling process begins from one corner and then proceeds down the rest of the wall. However, the tiling process starts right in the centre to ensure a symmetrical pattern is achieved. Start with drawing out a horizontal line and mark the centre. Fix a batten below the horizontal line, place a tile at the central point and mark the tile measures on the batten.
3) Apply the adhesive
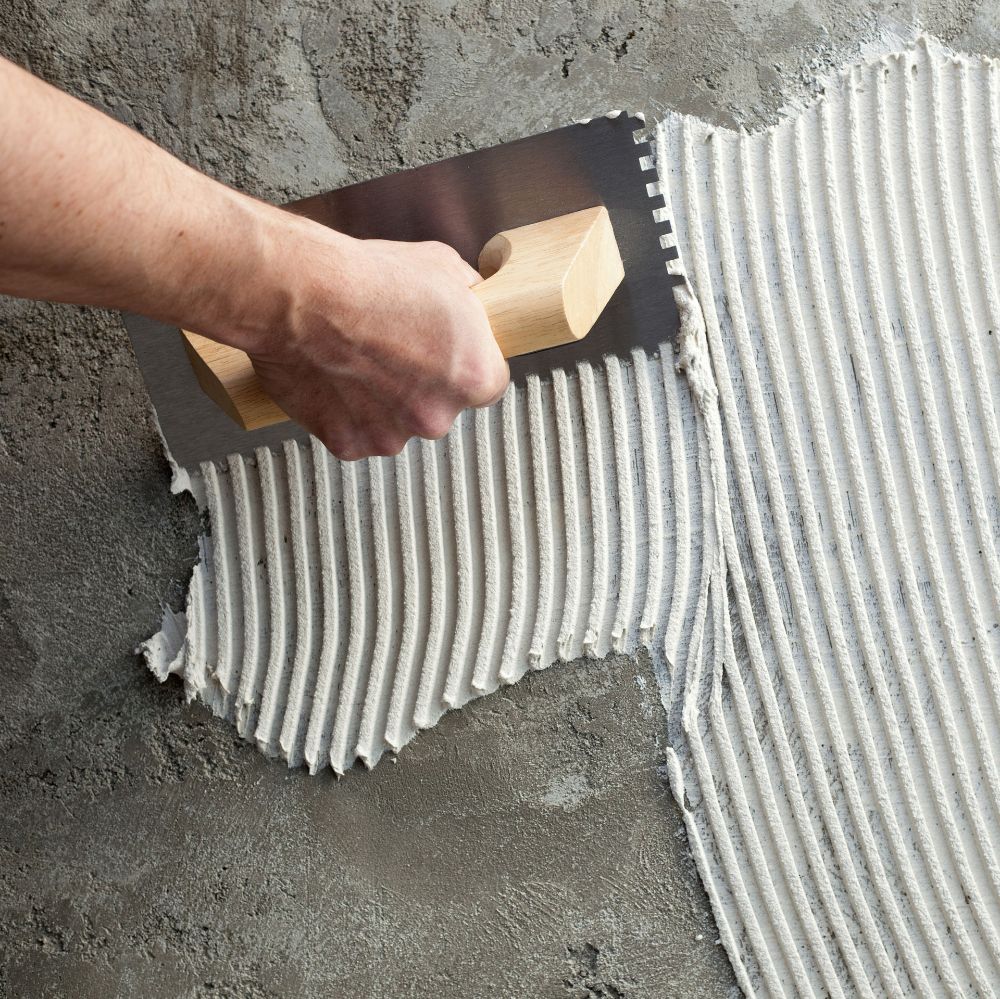
Next, use an adhesive to secure the tile to the wall. After reading the instructions on the adhesive bag, slowly add the adhesive to a clean water bucket, mix it thoroughly using a drill/mixer or a bucket and paddle to give a slump free, easily worked mortar consistency. Take a small amount on a notched trowel for application. Ensure you wear the protective equipment before commencing the process. Apply the adhesive in small batches to the walls to avoid the risk of drying out. Once done, a grill-like adhesive bed is created by holding a notched trowel at a 45° angle to even it out. This will ensure that ridges are the correct height to support the tiles on the wall.

4) Adding tiles to the wall
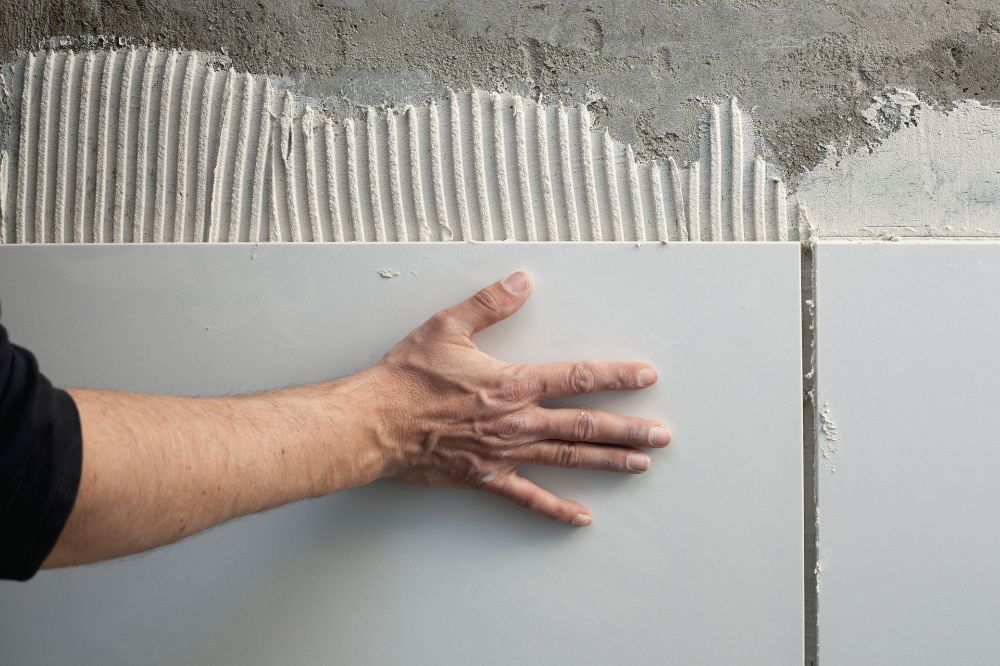
Place a tile above the mark made on the batten and secure it with a gentle jigging motion. Position the second tile next to the first, with just enough gap to fit a tile spacer between them., You can then carry on tiling around the focal point. Eventually, you will need to tile a wall corner; however, it may not be possible to place a tile fully. In this instance, measure the gap and cut the tile for perfect placement.
5) Finish by grouting the joints
Next, take out the tile spacers and prepare for the grouting process. In a separate bucket of water, mix the grout powder with the trowel. Take some mixture on the float and apply the grout on wall tiles to fill the tile gaps. Once set, clean the tile with a damp sponge and polished post drying to give a smooth finish.
Now that you've understood how to tile walls let us understand why tiles are the go-to option for kitchens and bathrooms and the tiling difference in these areas.
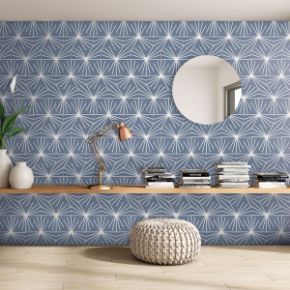
How to tile a kitchen wall?
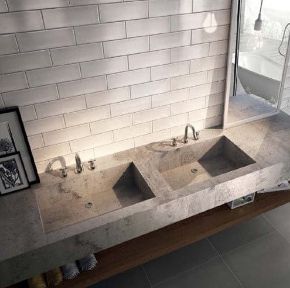
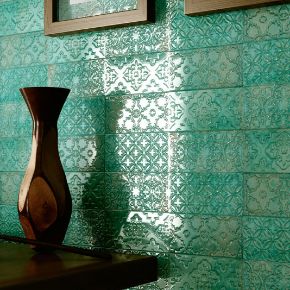
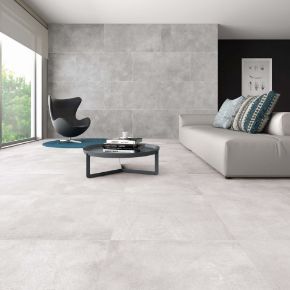
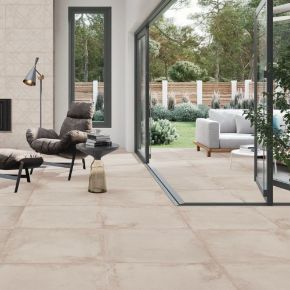
Kitchen scenes revolve around cooking, eating, hosting guests, etc., making it the busiest and messiest part of the home. Consequently, when you tile a wall kitchen, you also think about the continuous oil build-up, food residue, and splashbacks. Hence, kitchen tiles should be stain-resistant, long-lasting, easy maintenance and mindful of traffic. Ceramic tiles are durable, easy to clean and do not harbour germs, hence naturally used for kitchen walls. Natural stones, glass and porcelain, are also frequently used as they are low maintenance and resistant to wear & tear. They are often used to make a statement backsplash around certain areas of your kitchen, like over the sink or between cabinets. However, one will have to look at these options keeping in mind aesthetics and functionality.
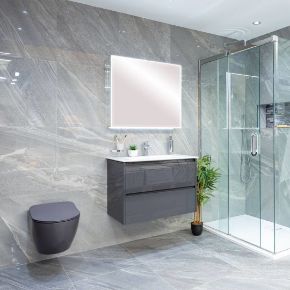
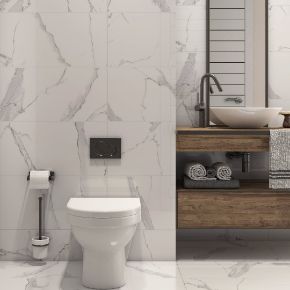
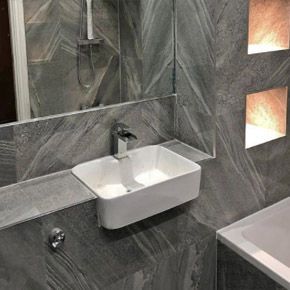
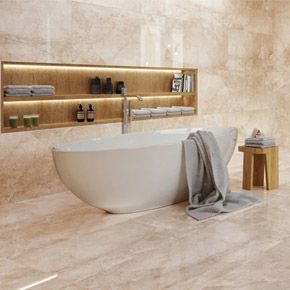
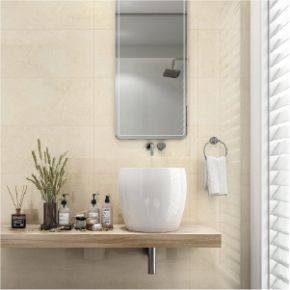
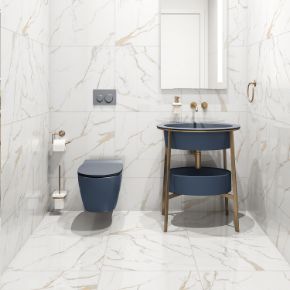
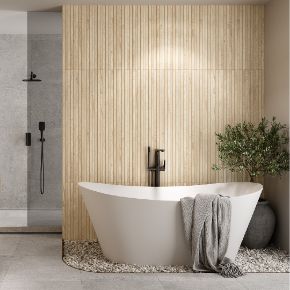
How to tile a bathroom wall?
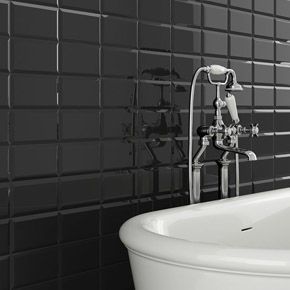
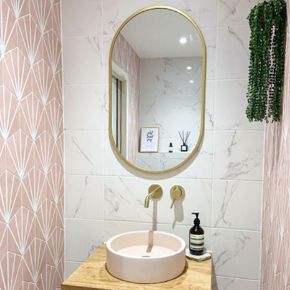
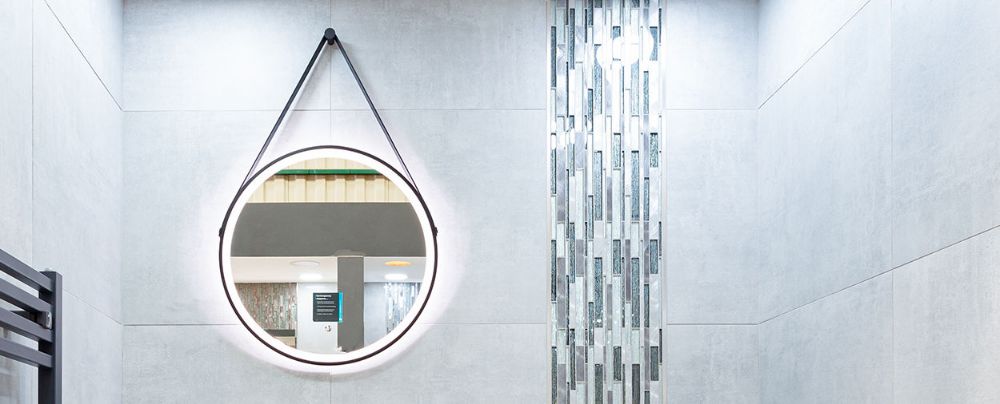
Bathroom spaces tend to be humid and wet; hence the tiles should be non-slippery and non-absorbent. Tile a wall with mosaic sheets, and it ticks both these boxes. However, when you tile a bathroom wall, you need to worry only about tile porosity. Bathroom tiles need to withstand water flow and continuous staining. Perfect choices are natural stone, porcelain, and ceramic. Furthermore, bathrooms are considerably smaller, and if you tile a bathroom wall with large tiles, cutting and proper fitting needs to be ensured. Sometimes it may result in uneven tile flooring. Hence, smaller tiles and diagonal patterns are used for a more spacious look.
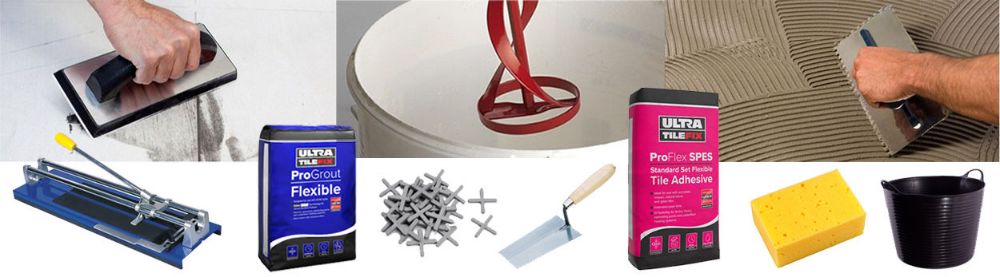
Wall Tiling Materials & Tools
Now that you have grasped how to tile walls, let’s have a look at the requisite tools and equipment:
- Adhesives
- Grout
- Tile Cutter (manual or electric)
- Bucket and notched trowel
- Drill / Mixer
- Gauge rod and tape Measure
- Notched Trowel
- Spirit Level
- Batten
- Tile Spacers
- Tile markers, file and nippers
- Sponge
- Grout Float and remover
- Mixing Bucket
- Safety Wear such as goggles, gloves and mask
Pro Tip: When ordering tiles always order 5-10% extra tiles to account for cuts and wastage.
Keeping the above information in mind, you can buy tiles that fit your intended applications and plan the tiling process even before you step into a hardware store. Following this learner’s guide of how to tile walls step-by-step, you can lay out tiles selected by you for you. Watch your home come alive!
")


