


How to Tile a Floor? | DIY Ideas
Robust and resilient floors are heavily reliant on the materials, tools and processes involved in installing them.
Materials You Need
First, let us briefly discuss the materials required :
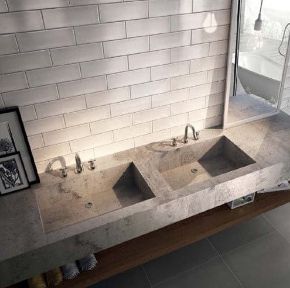
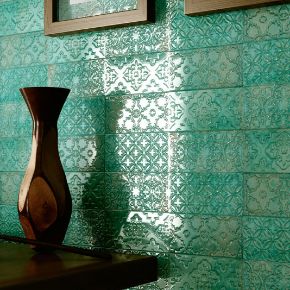
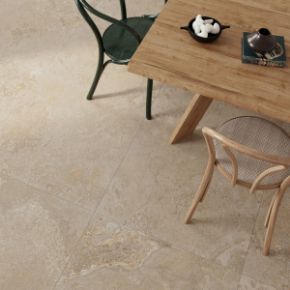
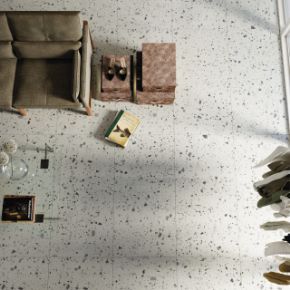
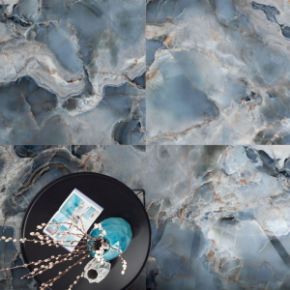
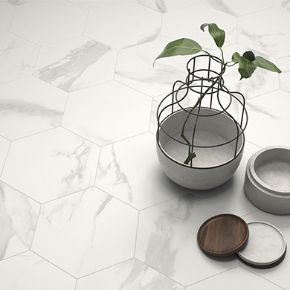
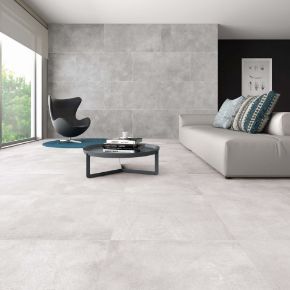
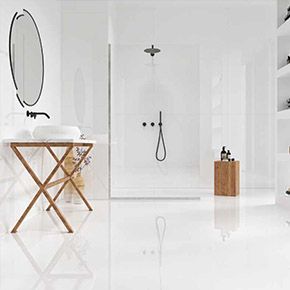
Tiles
For a tiling project, the primary component is the tile. Hence, while shortlisting a floor tile, it is vital to check for tile resistance and the number of tiles required.
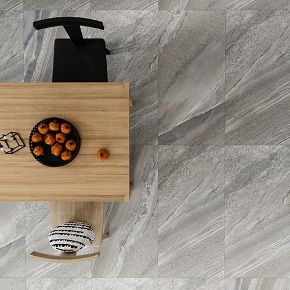
- Tile Resistance: Before purchasing a tile, it is crucial to check its PEI (or abrasion resistance rating). A higher rating denotes a stronger and harder tile, thereby having wider applications. Generally, kitchens require a higher PEI rating than a bathroom area.
- Measurement: Start by measuring the height and width of the rooms and take into account wall obstructions such as doors, windows, skirtings, plug points, etc. Once you have arrived at the area of your room, divide it by the area of your desired tile to get the number of tiles you’ll need. You can also use ready calculators available on websites or in-stores to arrive at the perfect measurement.
(Pro Tip: Since tiling may result in breakages, it is advised to factor 5-10% extra tiles while placing any order)
Adhesive
The second most important material is the adhesive which is required to secure the tile in place.
Broadly, there are two types of floor tile adhesive :
- Ready-mixed adhesives: Dries by evaporation
- Powdered adhesives: Dries chemically after the mixing process.
While ready mixed adhesives are more suitable for kitchens, powdered adhesives are ideal for areas with more moisture, such as a bathroom. Hence, be mindful - if you chose non-porous tiles such as porcelain or natural stone, using a ready-mixed adhesive would be disastrous as they would fail to attach.
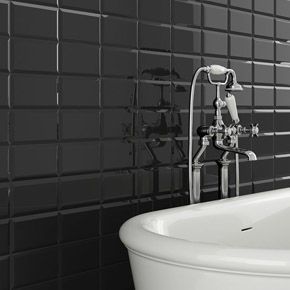
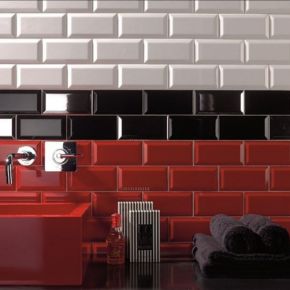
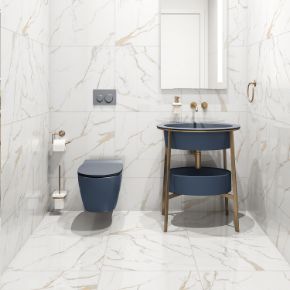
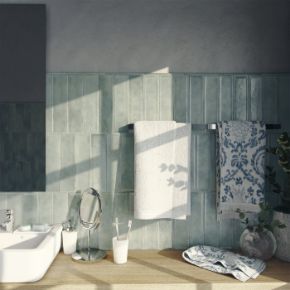
Grout
Grout is a thick mixture of cement, water, and sand used to fill tile joints due to its waterproofing and sealing properties. Floor tile grout is available in three types - cementitious, epoxy and furan resin. Owing to lesser porosity, epoxy grout is mainly used in kitchens and bathrooms. Further, cementitious grout is preferred for outdoor applications, and furan resin is used in industrial kitchens and breweries due to its chemical endurance.
Tools You Need
Next, you will need to list out the requisite tools before tile installation:
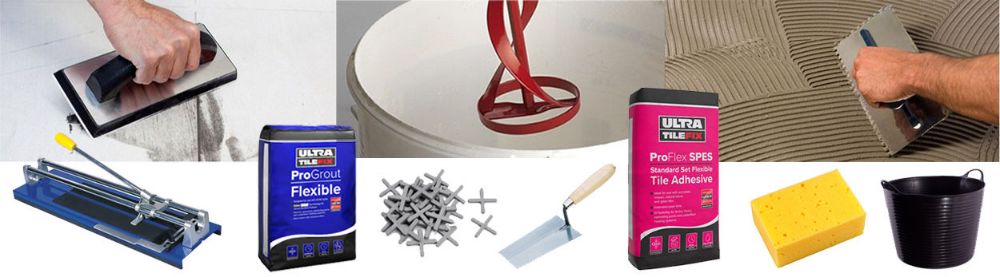
- Tape measure
- Tile spacers
- Sponge
- Bucket
- Float
- Notched trowel
- Batten
- Protective wear such as goggles, gloves and mask
Can You Tile Over Tile?
Are your existing tiles looking worn out? Are you looking for a quick and economical solution to retile your floor? Go ahead, take up a DIY project of tiling over your underlying tiles! Before you start, don't forget to inspect your subfloor for cracks, grime, moisture, unevenness, etc. You can even examine whether the existing tiles are bonded well to the floor by lightly tapping them with a hollow mallet. In case of any loose tiles, you can use tile glue to secure and smoothen the flooring.
You can even spruce up the tiling project by using tile panels that are quicker and easier to install than traditional tiles. What's more, they are grout-free, easy to maintain, and generally waterproof.
An even quicker way to upgrade your tiles is to use floor tile stickers or decals - just peel, stick and admire! Taking up a DIY project or renting a flat? Use floor tile stickers with ease as their removal causes no damage to the subfloor. However, be sure to buy waterproof decals if you wish to install them in rooms with high moisture content.
If you want to know how to tile a floor from scratch, the next section will give you a sneak peek into the process.
How to Tile a Floor?
The prerequisite of every tiling project is to ensure that your bare floor is free of dust, grime, moisture and damage. Once you have addressed these concerns, put on your protective gear and kick-start the tiling process.
Draw an outline: Tiling starts by marking the centre of the room and tiling your way to the edges to ensure symmetry. Secure a batten on the wall and use it to outline and mark the entire flow of floor tiles to be installed.
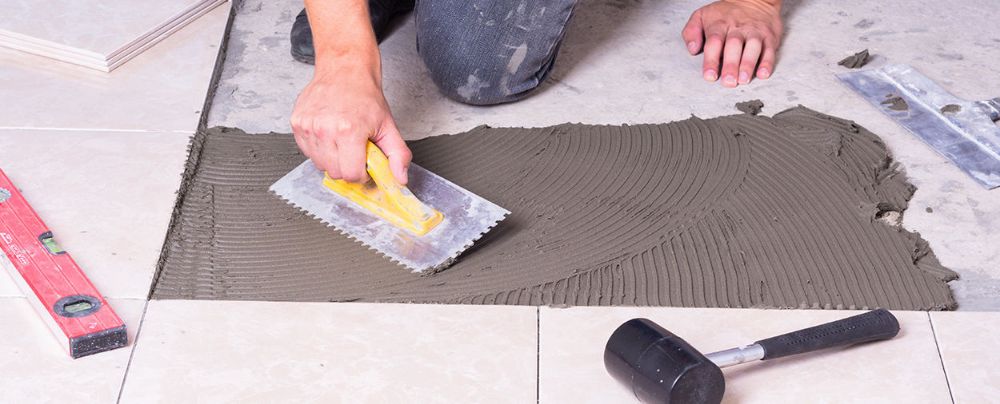
Apply the adhesive: To secure your tile to the wall, you need to use an adhesive and apply it using a notched trowel. (Pro-tip: Use at a 45° angle to ensure evenness of the floor tile adhesive)
Tile Installation: Once you pick out a tile (be it porcelain or ceramic floor tile), start placing your tiles based on the markings outlined earlier. Then, jiggle to secure it into place. Start tiling around the first tile, and be sure to place spacers between each tile.
Grouting the gaps: Once dried, remove the spacers and smear the grout mixture over the tile with a float. Spread it out in diagonal strokes to ensure proper coverage. Once dried and set, clean out the extra grout with a damp cloth. You may opt to polish your tiles for a smooth finish.
Once the area is cured, feel free to clean your floor with a floor tile cleaner and use the newly tiled space at your leisure.
")
")
")
")


